Configurer votre compte et votre organisation
Dernière mise à jour le 6 juillet 2026
Étape 1 : créer votre compte
Sur la page d'inscription, trois options s'offrent à vous :
- Continuer avec Google
- Continuer avec Microsoft
- E-mail et mot de passe (8 caractères minimum)
Les trois créent le même type de compte. Si vous vous inscrivez par e-mail, vous l'utiliserez aussi pour vous connecter par la suite ; avec Google ou Microsoft, vous vous connectez à chaque fois via ce fournisseur.
S'inscrire via un compte Microsoft d'entreprise
Si votre administrateur informatique n'a pas approuvé PassportCraft pour votre annuaire Microsoft, la connexion peut être bloquée par un message vous en expliquant la raison. Vous pouvez demander à votre administrateur de l'approuver — ou simplement vous inscrire par e-mail à la place.
Étape 2 : suivre l'assistant de configuration
Après l'inscription, vous arrivez dans un court assistant de configuration. Il prend quelques minutes, et ce que vous saisissez ici prérenseigne chaque passeport que vous créerez ensuite. Les étapes sont les suivantes :
- Bienvenue — un aperçu rapide de ce que vous allez configurer.
- Type de produit — la question « Que fabriquez-vous ? ». Sélectionnez tous les types qui s'appliquent. Textile et habillement, Biens de consommation et Batteries sont disponibles dès aujourd'hui ; les types marqués Bientôt (Électronique, Mobilier, Cosmétiques) sont enregistrés sur votre compte et se déverrouillent automatiquement à leur lancement.
- Organisation — le nom de votre organisation et le pays (les deux requis), ainsi que, en option, la raison sociale du fabricant, l'adresse du siège social et l'e-mail de contact. C'est ce que voient les acheteurs lorsqu'ils scannent le QR code d'un produit, et cela renseigne pour vous les champs fabricant.
- Conformité UE — votre numéro EORI et votre personne responsable établie dans l'UE, tous deux facultatifs. Vous pouvez publier sans eux et les ajouter plus tard.
- Image de marque — téléchargez un logo et choisissez une couleur principale pour vos pages de passeport publiques.
- Terminer — un récapitulatif de tout ce qui a été configuré.
Si vous utilisez le bouton Continuer à l'étape Organisation, le nom de l'organisation et le pays sont tous deux requis pour avancer. Le bouton Passer la configuration, dans le coin supérieur, court-circuite l'assistant complet — il ne s'arrête qu'à l'étape Organisation si le nom est manquant, et le pays n'est pas requis sur ce parcours.
Ce avec quoi vous démarrez
Terminer la configuration crée votre organisation avec vous comme Propriétaire, et met en place trois choses :
- Un essai Pro de 14 jours. Les fonctionnalités Pro sont actives immédiatement — vous pouvez publier jusqu'à 500 passeports pendant l'essai, et l'image de marque en marque blanche est débloquée.
- Un exemple de passeport. Un brouillon textile entièrement renseigné se trouve dans votre tableau de bord pour vous montrer à quoi ressemble un passeport numérique de produit terminé. Modifiez-le, ou supprimez-le quand vous le souhaitez.
- Des valeurs fabricant par défaut. Les coordonnées d'entreprise que vous avez saisies prérenseignent la section fabricant de chaque nouveau passeport. Vous pouvez les modifier au cas par cas.
À partir d'ici, l'étape naturelle suivante est de créer votre premier passeport. Pour une vue d'ensemble d'abord, notre guide pas à pas pour créer un passeport numérique de produit couvre l'ensemble du processus.
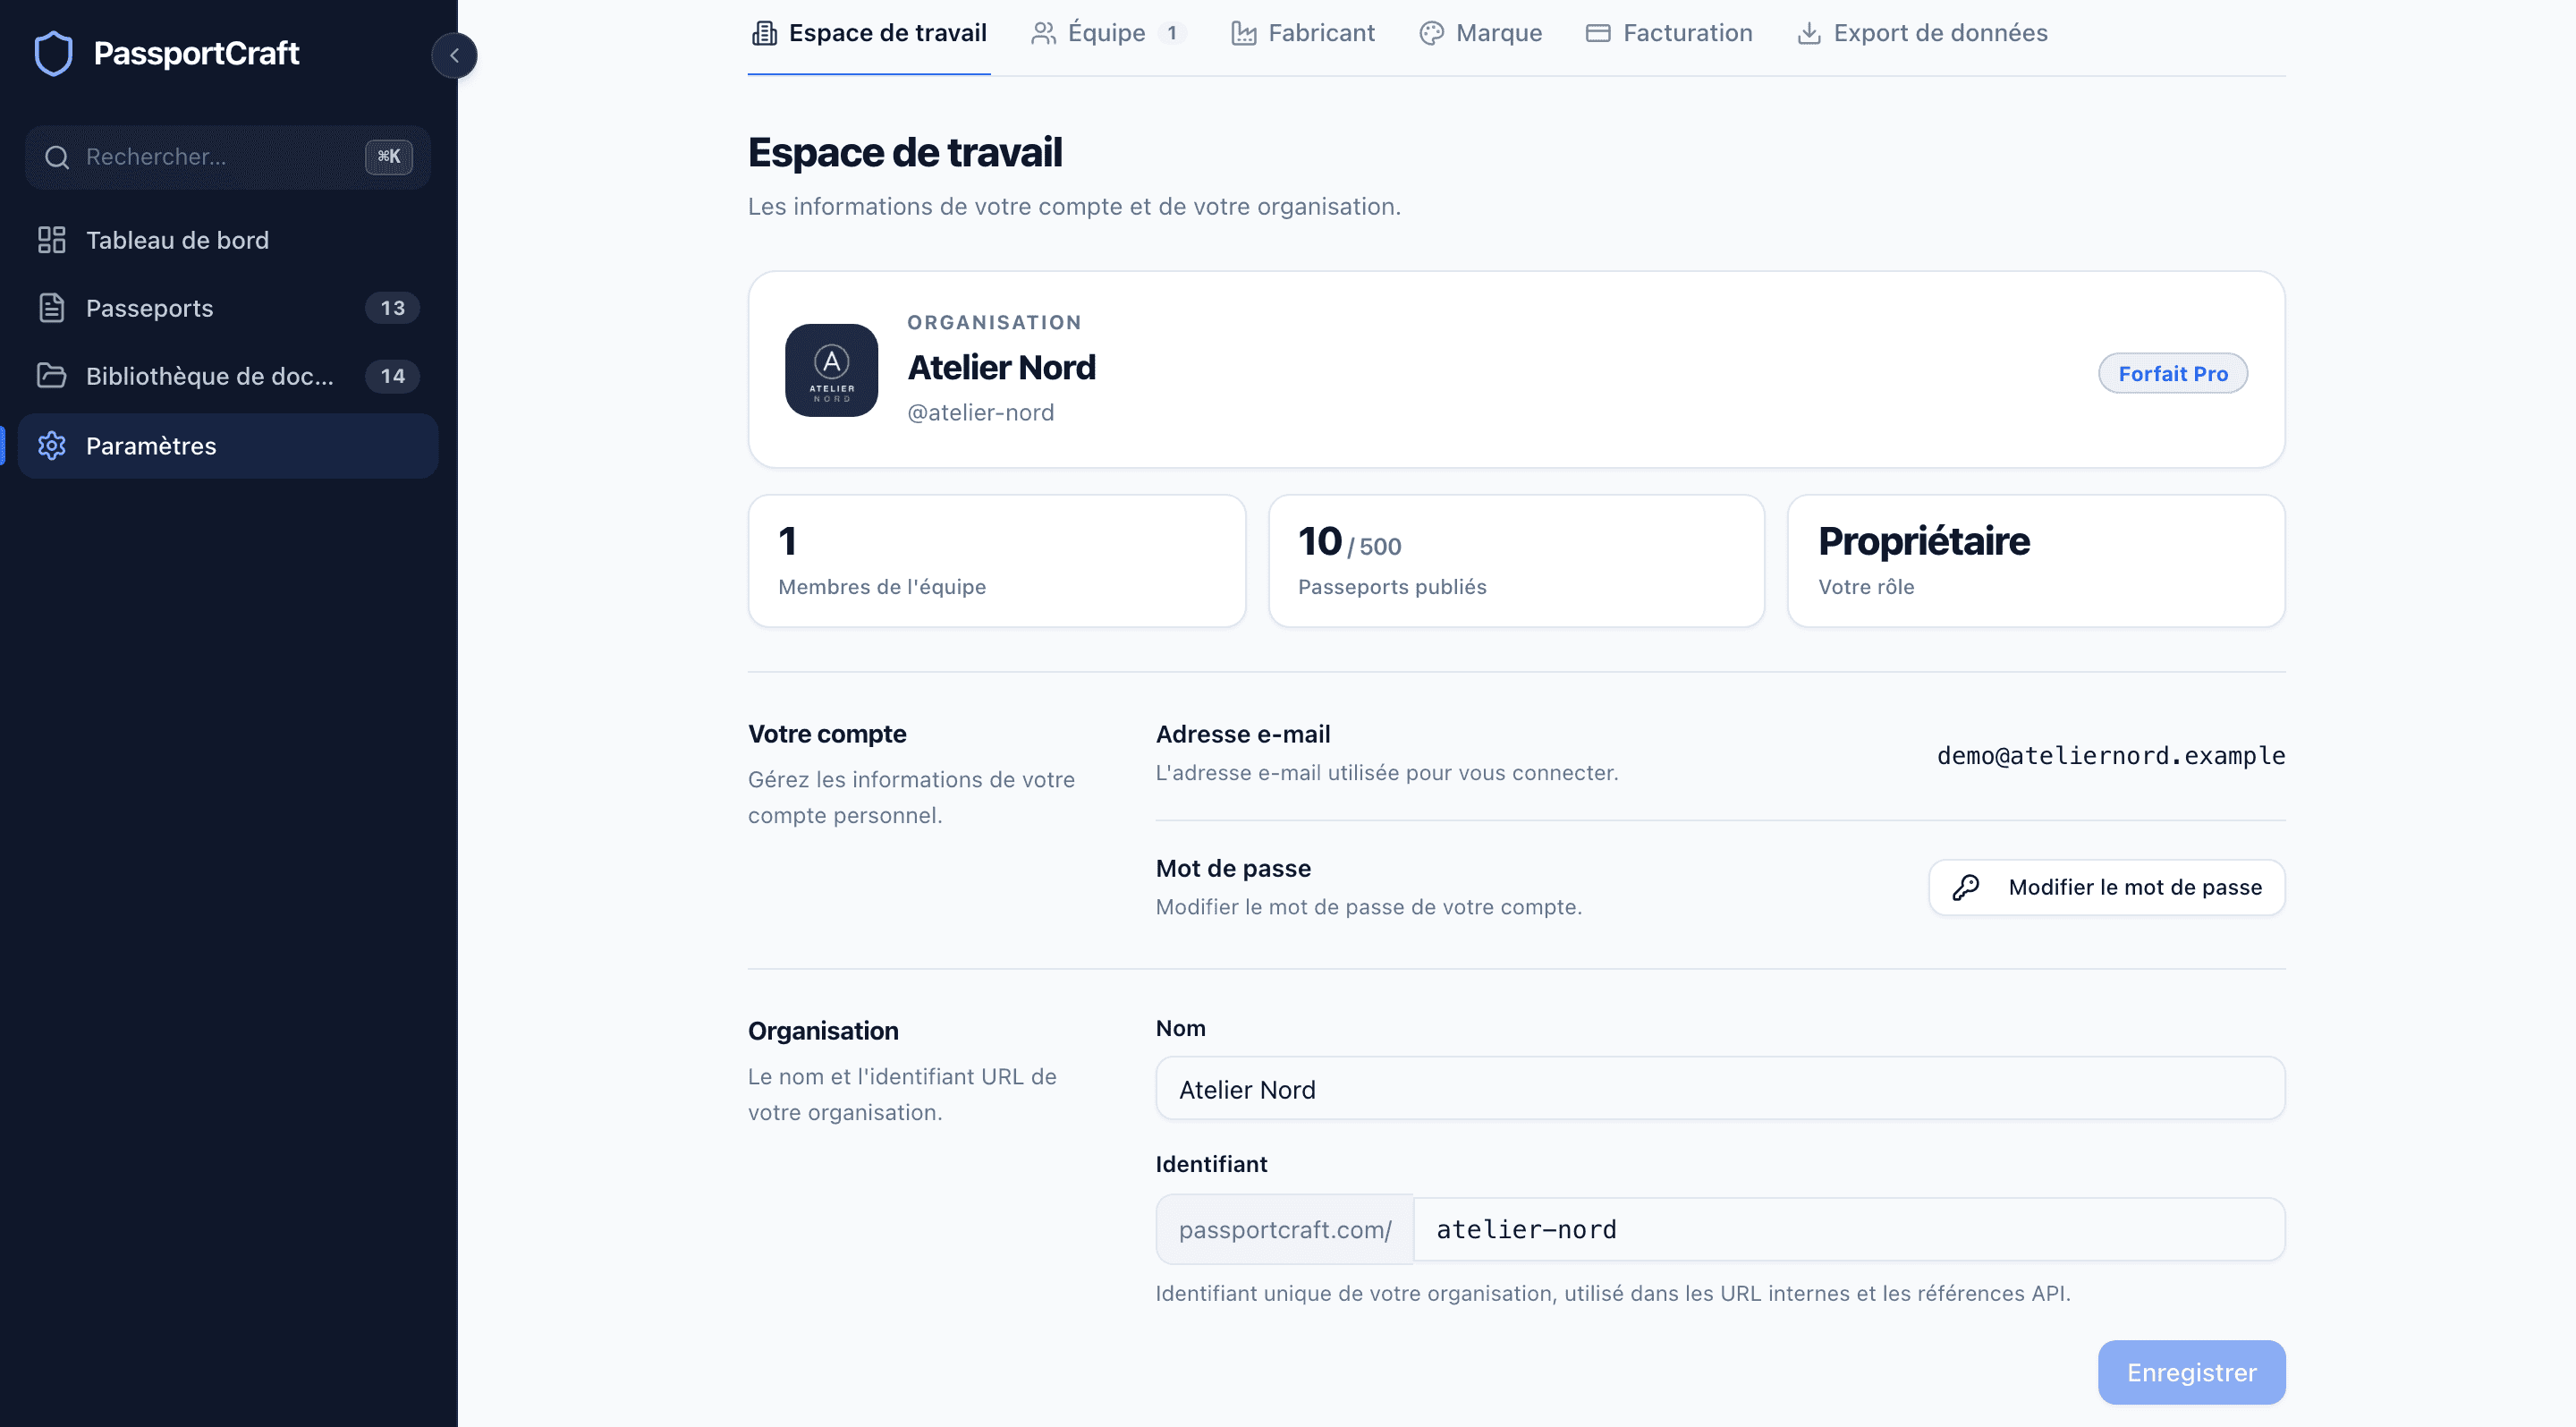
Les paramètres de votre organisation
Tout ce qui concerne votre organisation se trouve sous Paramètres, réparti en six onglets : Espace de travail, Équipe, Fabricant, Marque, Facturation et Export de données. L'article Paramètres de l'organisation et rôles d'équipe passe en revue chaque onglet et explique ce que peuvent faire les quatre rôles d'équipe.
L'état d'essai
Tant que votre essai est actif, la page Facturation indique le nombre de jours restants. À sa fin, votre compte passe au plan Gratuit : vous pouvez publier jusqu'à 3 passeports, et les brouillons ne sont pas touchés — rien n'est supprimé. Si vous avez plus de 3 passeports publiés à ce moment-là, consultez Publier un passeport pour comprendre le fonctionnement des limites de publication selon les plans.
Vous pouvez choisir un plan à tout moment dans Paramètres → Facturation — avant ou après la fin de l'essai.
Questions fréquentes
Une carte bancaire est-elle nécessaire pour s'inscrire ?
Non. L'inscription est gratuite, et le formulaire l'indique clairement : aucune carte bancaire requise. Chaque nouvelle organisation démarre avec un essai Pro de 14 jours, et vous ne renseignez vos coordonnées de paiement que si vous choisissez un plan payant.
Que se passe-t-il à la fin de mon essai Pro ?
Votre compte passe au plan Gratuit, qui couvre 3 passeports publiés. Rien n'est supprimé — vos brouillons et vos données restent exactement en l'état, et vous pouvez passer à un plan supérieur dans Paramètres → Facturation quand vous le souhaitez.
Puis-je modifier les informations saisies lors de la configuration ?
Oui. Tout ce qui provient de la configuration se trouve dans les Paramètres : le nom de votre organisation sous Espace de travail, les coordonnées du fabricant et les informations de conformité UE sous Fabricant, et votre logo et vos couleurs sous Marque.